♥
It seems that round our way it really can't make up it's mind what season we're in right now -
we've had some truly beautiful sunshiny days that have lulled us into
thinking warmer days are ahead,
but today you could actually be forgiven for thinking they are shooting a remake
of Wuthering Heights around our house -
the wind is whistling, the rain is chucking it down and Spring like it is not !
Our poor cherry tree that was looking so spectacular in the sun the other day is
hanging on to its blossom for dear life today.
I'm not ready to see it all flutter away just yet.
So maybe its the weather that's adding to my continuing addiction with
hooking up little Spring flowers -
no wind or rain will be able to blow these away...
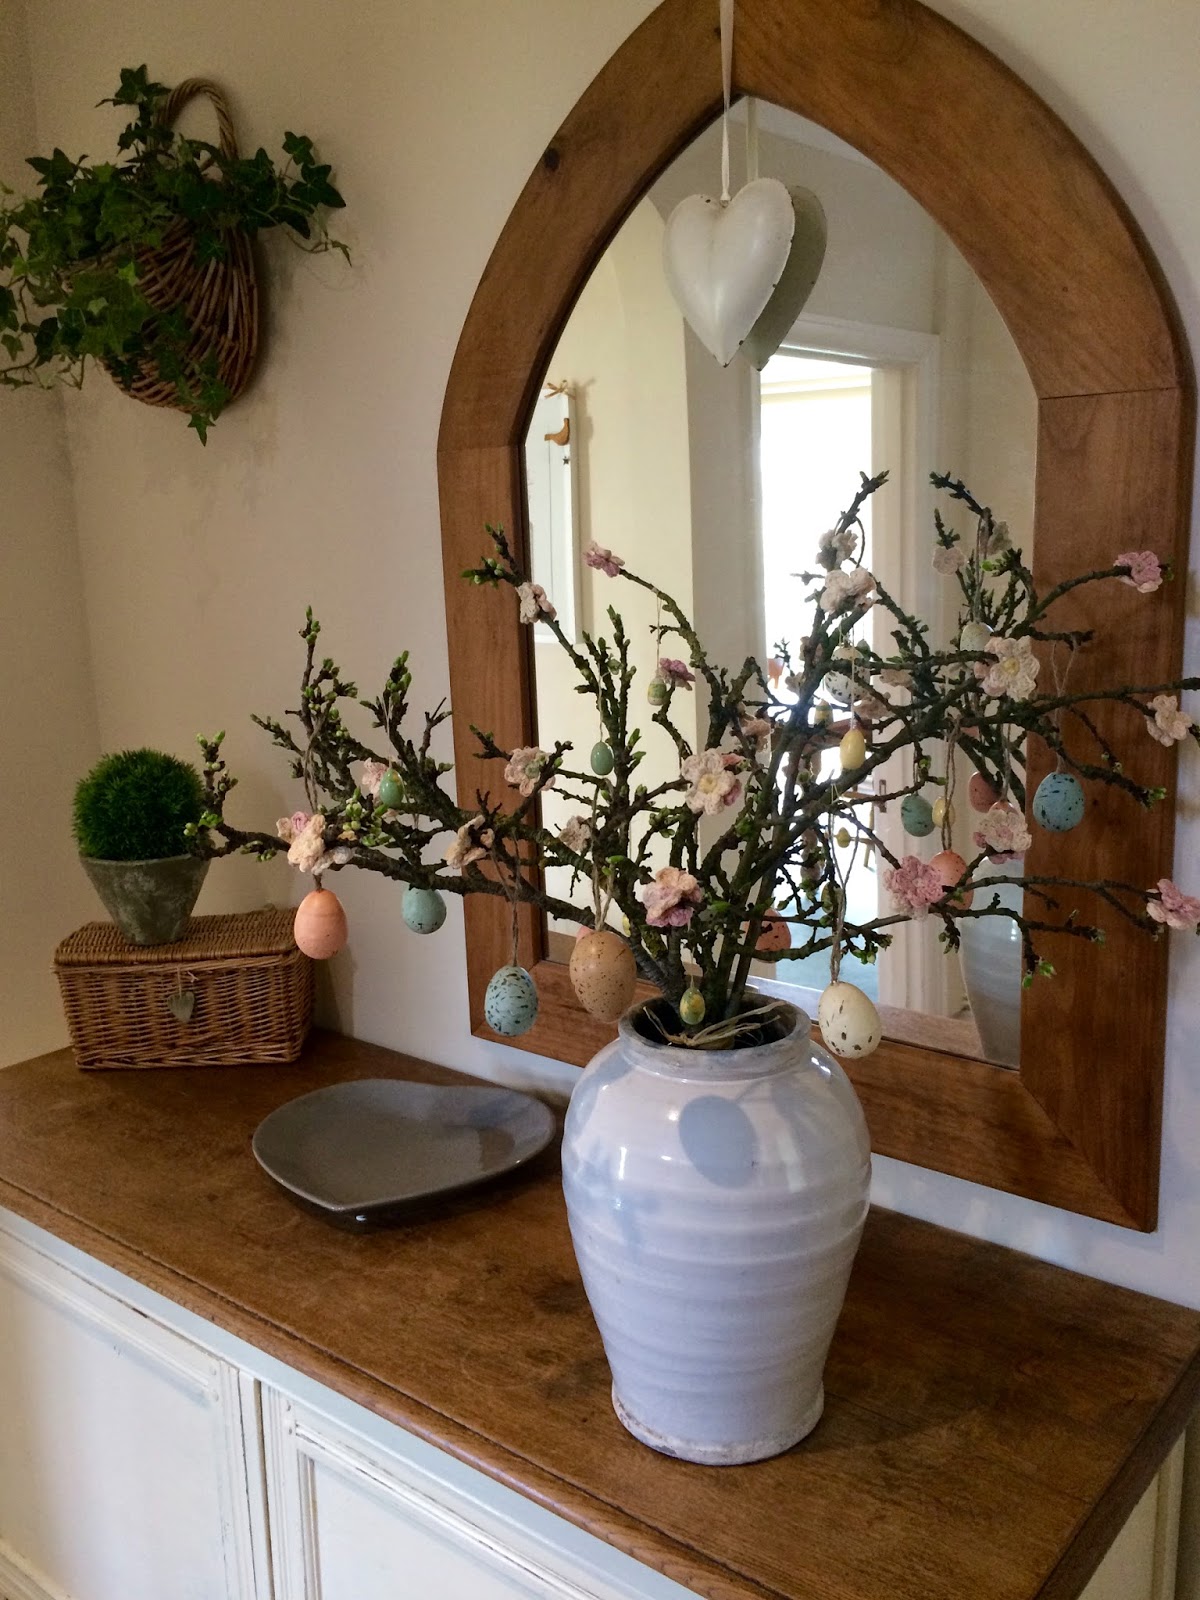
and so now as well as the ones decorating my fireplace
I have grown an Easter Tree too
for an instant bit of indoor Spring.
For the Easter tree flowers I used a different pattern to the flowers I
made for my Spring Garland and it's one that the
in September last year.
It's such a simple pattern to follow and they seem to work up perfectly every time.
I used 4 ply cotton for mine and because they are all my left overs and
ready rolled in to little tiny balls Otto was really very happy to help !
If, like me, you find them a little addictive to make in no time at all you'll find
a whole little garden is springing up around you.
And, they're so quick to make that even sewing in the ends is fun.
At the bottom of this post I have written out the pattern for you and included a
photo tutorial but for now lets get on with putting the tree together !
The ingredients couldn't be easier:
One basket of Spring flowers ...
Some Easter decorations ...
and some twiggy branches.
I collected mine from a very dead looking tree at the bottom of the car park at work but,
as if by magic, once in some water and in the warm they are springing back to life !
I'm looking forward to seeing the tree in a few days time as
I think Spring will truly have sprung.
 Anyway ....
I started off by just pinning the flowers where I wanted them on the twigs.
I used two flowers together,
one at the back and one at the front,
as this meant I could easily stitch them in place.
And after a bit of stitching ...
 and a bit of decorating ...
it all begins to come together.
♥
So, here's the pattern...
I used 4 Ply Cotton and a 3.5mm hook.
Most of the left overs I had were DMC Natura Just Cotton
It's a lovely fine yarn to work with and there are 60 scrumptious colours to choose form.
To start I made a Magic Circle.
These are so simple to do and give a lovely flat circle in the middle of your flower.
If you need to practice this I would highly recommend watching this video clip
over at PlanetJune.com as its very clearly demonstrated here.
( Just remember though that when she says Single Crochet that is a Double Crochet in UK terms. )

Work 5 DC into your Magic Circle
and carefully pull the end of the yarn to close the circle.
Cut your yarn and pull the end tight.
Add in your second colour by pulling a loop of yarn from
the back of the DC stitch to the front.
Chain 3.
Then make a 4 TR cluster in to the same stitch -
this means you work 4 TR's but only YRH once and leave the final loop on the hook
- you will have 5 loops on the hook.
YRH and pull through all loops.
Chain 3 and SL ST in to the same stitch to anchor the petal.
SL ST in to the next DC.
Chain 3
and repeat the petal pattern.
Work your way around the Magic Circle
until you have 5 petals.
To finish, SL ST in to the first petal stitch and anchor.
Finish off and sew in your ends.
♥